Email deliverability is a balancing act: craft great messages, authenticate properly, and—crucially—avoid landing on blacklists. A single listing can send your emails straight to spam folders or cause major headaches if you’re running transactional or marketing campaigns. In this guide, we’ll explore the top best practices for using a Blacklist Checker, share real-world lessons (with a typo or two for authenticity), and show you how FastDNSCheck.com’s Blacklist Checker can help you stay ahead of the game. Let’s keep that email reputation sparkling!
Why Blacklist Monitoring Matters
- Immediate Impact on Deliverability
Once your sending IP or domain lands on a blacklist, major providers like Gmail, Yahoo, and corporate spam filters will block or flag your emails. - Early Warning System
Blacklist checks act as an early indicator of compromised servers, misconfigurations, or security breaches. - Compliance and Trust
Regular monitoring demonstrates due diligence—critical for enterprises, financial institutions, and any business regulated by compliance frameworks.
Real typo: I once saw a marketer scrambe emails from a compromised list—three blacklists later, our deliverability tanked. Lesson learned: always rotate IPs and scrub lists properly!
1. Choose the Right Blacklists to Monitor
Not all blacklists are created equal. Some target spam emails (e.g. Spamhaus SBL), others phishing (PhishTank), and others general IP reputation (SpamCop, SURBL). Focus on:
- Spamhaus SBL/XBL/PBL
- SpamCop
- SORBS
- PhishTank
- URIBL / SURBL
Tailor your monitoring to your use case: transactional services might care more about Spamhaus and SURBL; marketing platforms also watch list.uribl.org.
2. Automate Regular Checks
Schedule Daily or Hourly Scans
Manually running one-off checks feels good, but you’ll miss sudden listings. Use FastDNSCheck.com’s scheduling feature:
- Hourly Checks for high-volume senders.
- Daily Checks for standard operations.
Set alerts to [email protected] so you’re notified exactly when something changes.
3. Verify Your Sending Infrastructure
Before blaming the blacklist, confirm:
- Clean IP Pools: If you share IPs (e.g. in cloud providers), ensure no neighbors misbehave.
- Proper Reverse DNS (PTR Records): Mismatched PTR records can raise red flags.
- SPF, DKIM, DMARC in Place: Authentication failures often correlate with blacklisting events.
4. Rapid Response to Listings
When you detect a listing:
- Identify the Culprit
- Use FastDNSCheck’s detailed report to see which IP or domain is blacklisted.
- Check the blacklist’s website for listing reason and required delisting process.
- Remediate
- Fix misconfigurations (open relays, bad PTR, missing auth).
- Clean compromised accounts or servers responsible for spam.
- Request Delisting
- Follow the blacklist’s instructions; often involves a form or email.
- Provide evidence of fixes—“marked all accounts secure, cleaned logs.”
- Some require a waiting period (Spamhaus XBL can be automatic after 24h; SORBS may take longer).
5. Maintain Long-Term Reputation Health
- Throttling and Bounce Management: High bounce rates or rapid volume spikes can trigger listings. Rate-limit bulk sends and prune invalid addresses.
- Engagement Metrics: Low engagement (opens, clicks) might signal your content as spammy; refine your list and segment properly.
- IP Warm-Up: When adding new IPs, start small and ramp up to build positive sending history.
Pro tip: Use multiple subdomains or dedicated IP pools per campaign type to isolate issues and minimize risk.
6. Document and Audit
Keep a Blacklist Incident Log in your internal wiki or spreadsheet:
| Date | IP/Domain | Blacklist | Cause | Remediation Date | Status |
|---|---|---|---|---|---|
| 2025-05-21 | 203.0.113.45 | Spamhaus SBL | Open relay misconfig | 2025-05-22 | Delisted |
| 2025-04-10 | mail.example.com | URIBL | Low engagement signals | 2025-04-11 | Monitoring |
This record helps when discussing issues with stakeholders or answering audit questions.
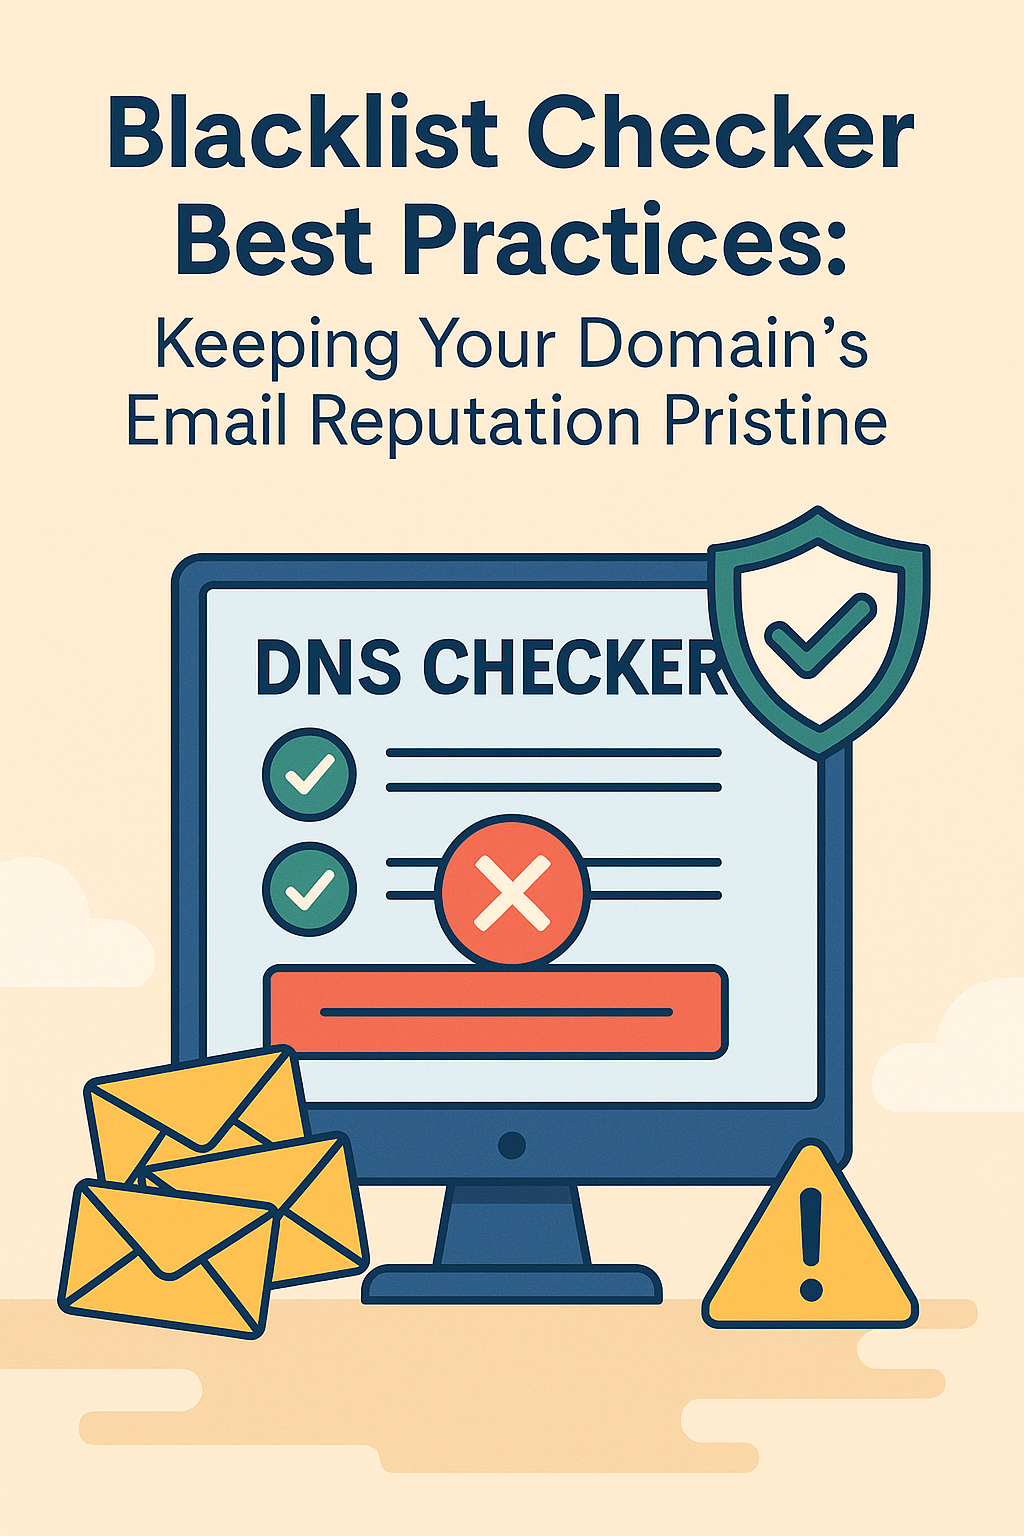
Using FastDNSCheck.com’s Blacklist Checker
- Navigate to Blacklist Checker.
- Enter Your IP or Domain.
- Select Lists: Choose default or custom sets.
- Run the Check: Get an instant pass/fail matrix across all monitored lists.
- Review Details: Click any “fail” entry to view listing details, timestamps, and delisting instructions.
Combine this with IP Lookup and My IP Checker to complete your investigation and remedial actions.
Q&A
Q1: How often do blacklists get updated?
A: Varies: some lists update in real time, others hourly or daily. That’s why scheduling frequent checks is key.
Q2: Can I auto-delist myself?
A: Some services (like Spamhaus XBL) auto-remove after issues resolve; most require manual requests or forms.
Q3: My blacklist status is inconsistent across tools—why?
A: Tools may cache results or poll different mirror servers. Always cross-verify on the blacklist’s official website.
Q4: Should I rotate sending IPs after delisting?
A: If you fixed the root cause, rotating isn’t necessary. Rotations help isolate future issues but don’t replace proper remediation.
Staying off blacklists is a continuous process—but with proactive monitoring, quick fixes, and best practices, your email reputation will stay strong. Give FastDNSCheck.com’s Blacklist Checker a spin, set up your alerts to [email protected], and keep your domain’s name in shining clean standing!